
 412M
412M 393M
393M 366M
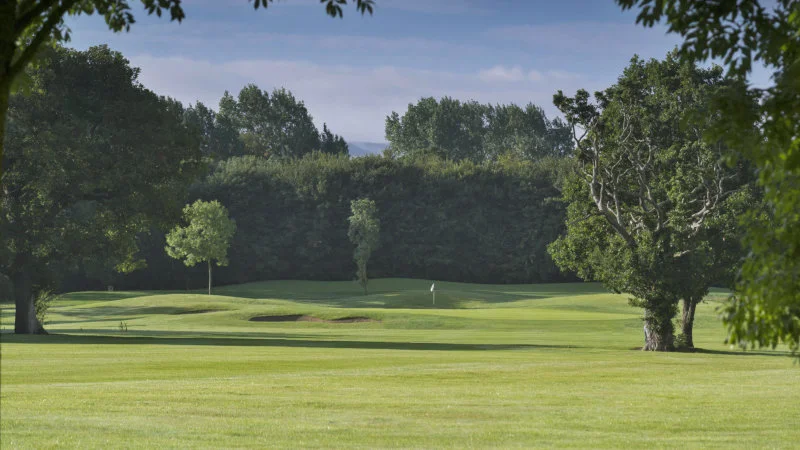
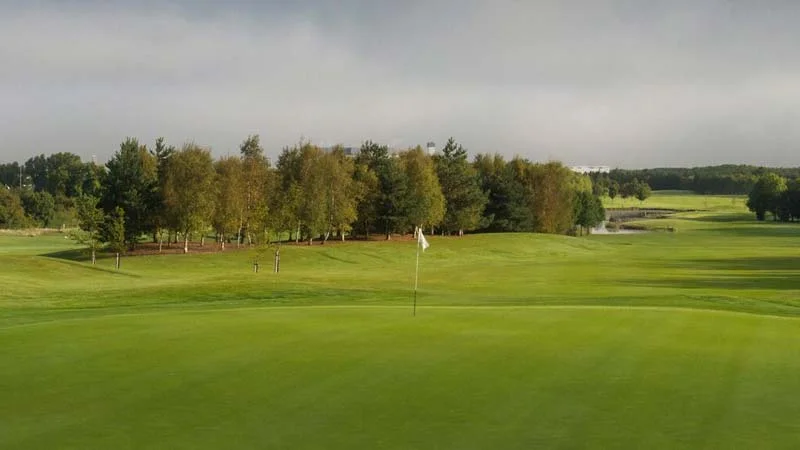
366MIndex one to begin the round, but keep away from the trouble on the left and this hole is straight forward. Prevailing wind into your face here, a three-shot hole for most golfers.
 437M418M329M
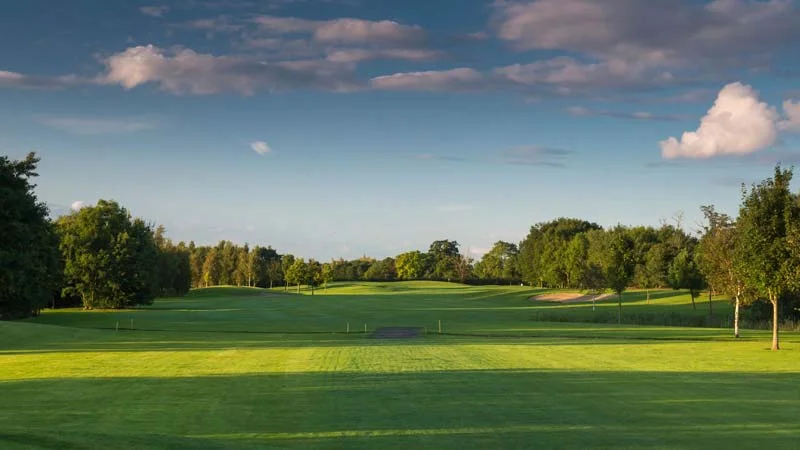
Tricky driving hole with out of bounds all down the left. Pin position on a tricky green is all that protects this relatively short par 5. A real birdie chance!
 395M379M335M
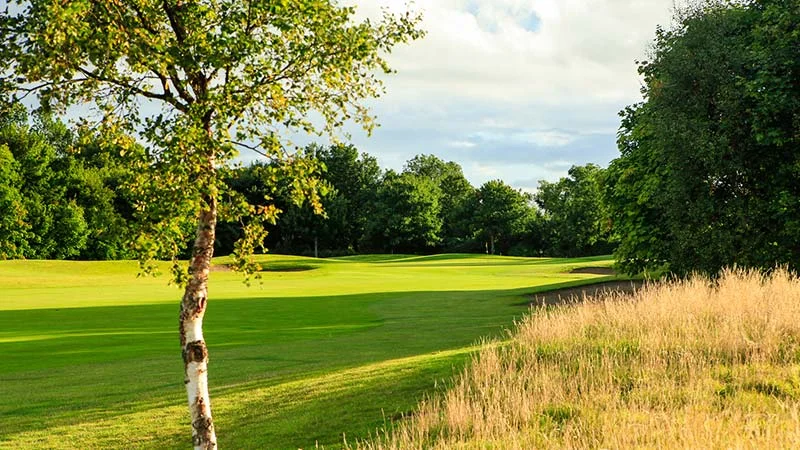
Out of bounds continues down the left on this hole. Big target off the tee, but this hole plays longer than it looks. Trust the yardage on the approach, and beware of the severely sloping, two-tier green.
 386M357M322M
A difficult Par 4 with trouble off the tee and on approach. The safe play from the tee is to keep to the right, however this will leave a longer second shot or possibly a lay-up.
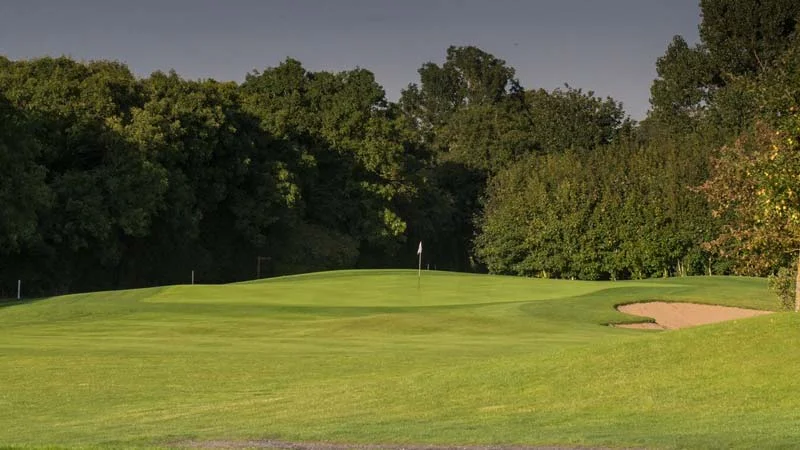
 162M139M124M
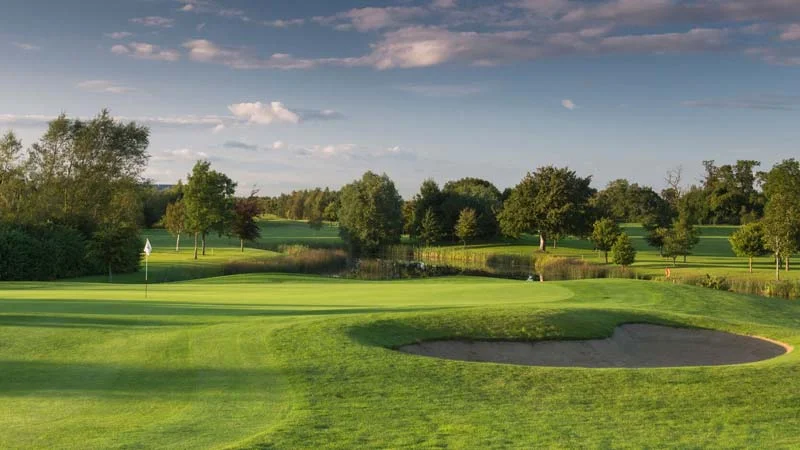
The first of the Par 3’s is a demanding one with two deep bunkers protecting a tricky green. Better to be short than long on this Par 3, leaving an easier pitch or chip.
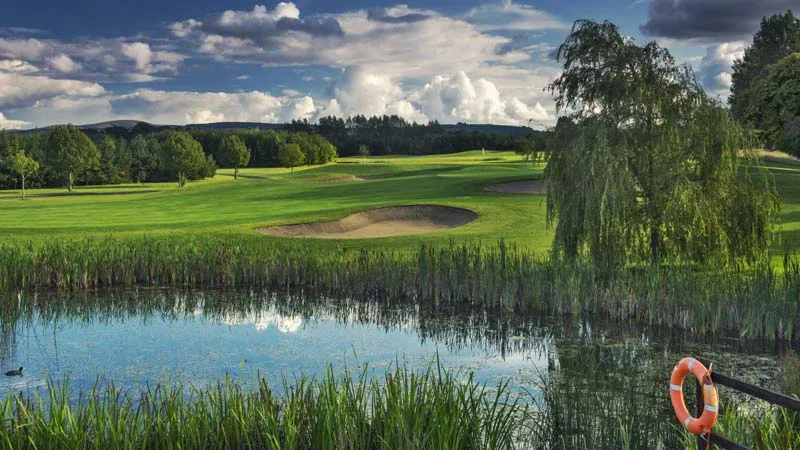
 353M333M269M
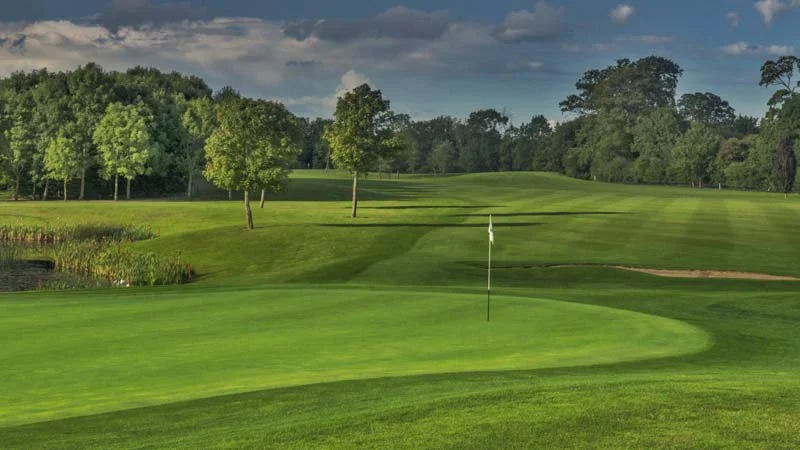
With the prevailing wind back in the players face at the 6th, most players will be left with a mid or long iron second. Better to miss left with your approach, as the water will swallow anything leaked right.
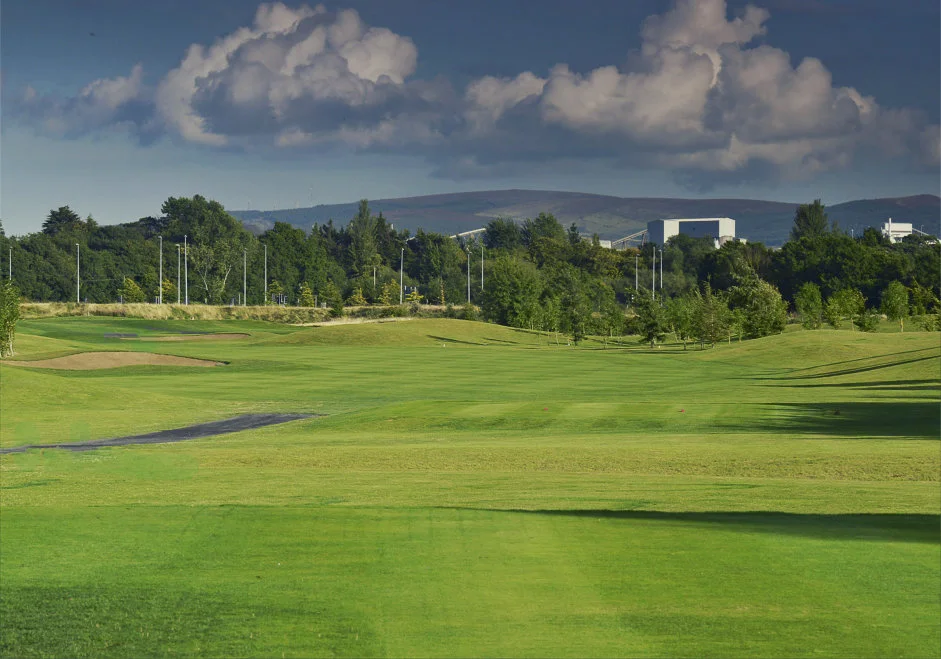
 452M448M379M
A strong Par 5 which demands three good shots. Plays deceptively uphill to a narrow but long green. A good birdie chance for the longer hitters.
 168M148M127M
The second Par 3, the 8th hole, plays downhill to one of the trickiest greens on the course that slopes from front to back. Anything short will leave you with a hard up and down and anything long and left here will bring the water into play.
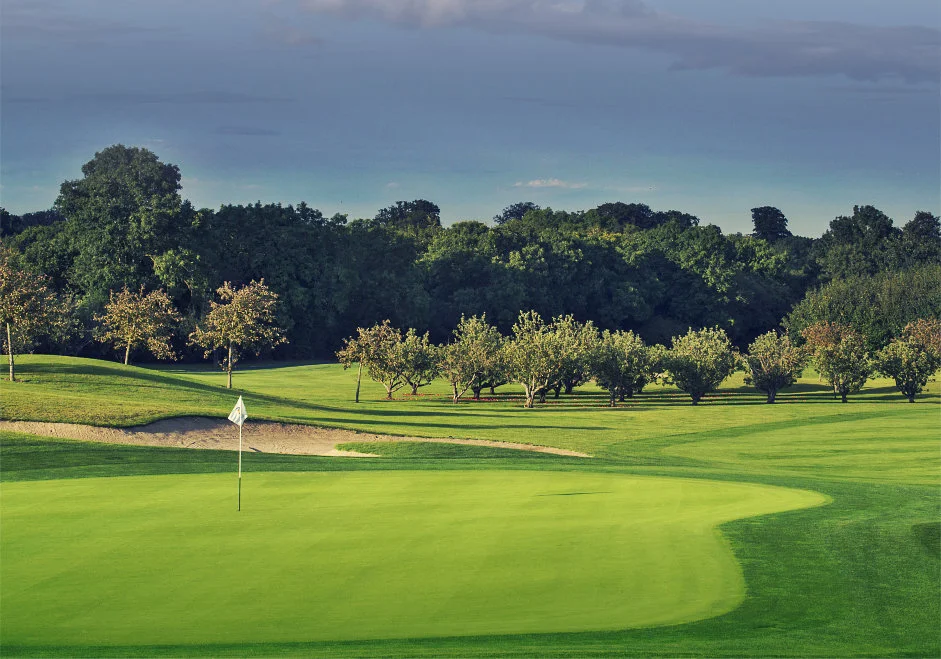
 363M344M328M
With a narrow fairway and a small target on the approach, accuracy will be rewarded on the 9th. Another sloping green means getting the ball on the right level is very important.
 348M306M283M
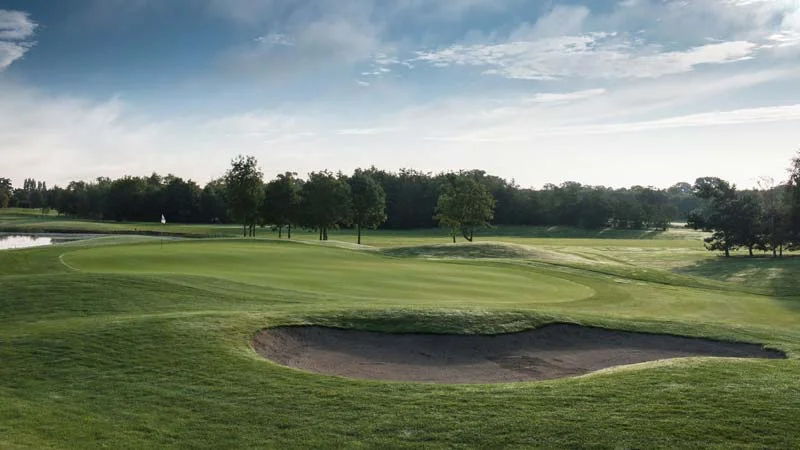
A generous target from the tee means the 10th could be regarded as a second shot hole. A well protected green here, with a bunker at the front, and water waiting for any ball leaked to the right.
 175M155M115M
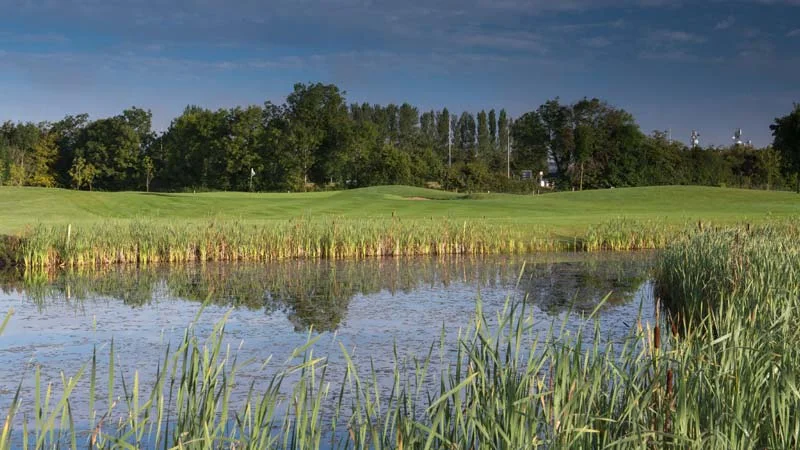
Known as the most difficult of the Par 3’s, the 11th will challenge players of all levels. A tee -shot over water, to a green heavily protected by deep bunkers. Another green with two tiers that falls away at the front, and at the back. Not many pars here.
 479M467M381M
A real three-shot Par 5, the 12th requires a drive on the fairway to allow for an accurate lay-up. The fairway narrows towards the water, and the approach tends to play longer than it looks.
 370M363M305M
It’s a small target from the tee to find the fairway on 13. The approach plays uphill to a blind green that slopes from front left to back right. A difficult hole for most.
 344M338M302M
A right to left dog leg, with trouble all down the left forcing tee-shots to the corner. The second shot plays uphill, and usually requires one extra club.
 390M380M311M
Big-hitters might be tempted into taking the corner off this dog-leg, however, the safe play is a shot landing short of the water on the left. Beware of slopes on this green.
 374M361M298M
A well designed hole, with water and bunkers forcing tee-shots to a tight landing area. This leaves a long approach to a sloping green. Pars are hard to find here.
 145M135M120M
Shortest of the Par 3’s, the 17th plays downhill to a relatively flat green. Finding the green will offer a good birdie chance.
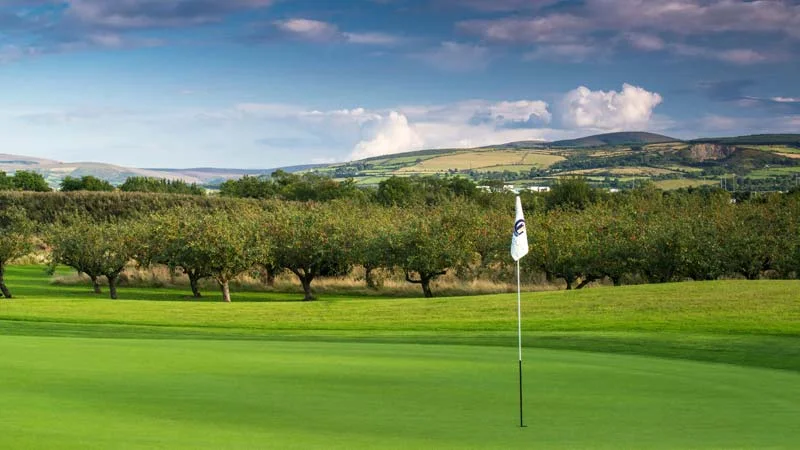
 437M408M366M
The 18th hole is a short Par 5 which gives you a great birdie opportunity to finish off your round. Be brave here, hug the left-hand side to avoid the big tree, and leave the easiest approach. A small green here, surrounded by bunkers.